Introduction
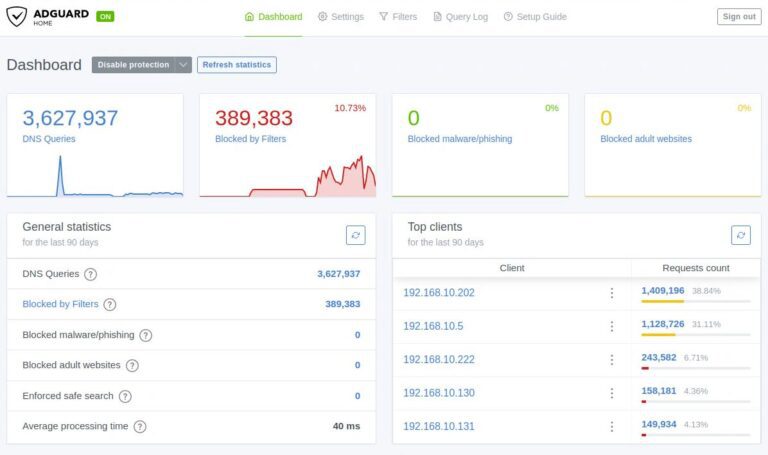
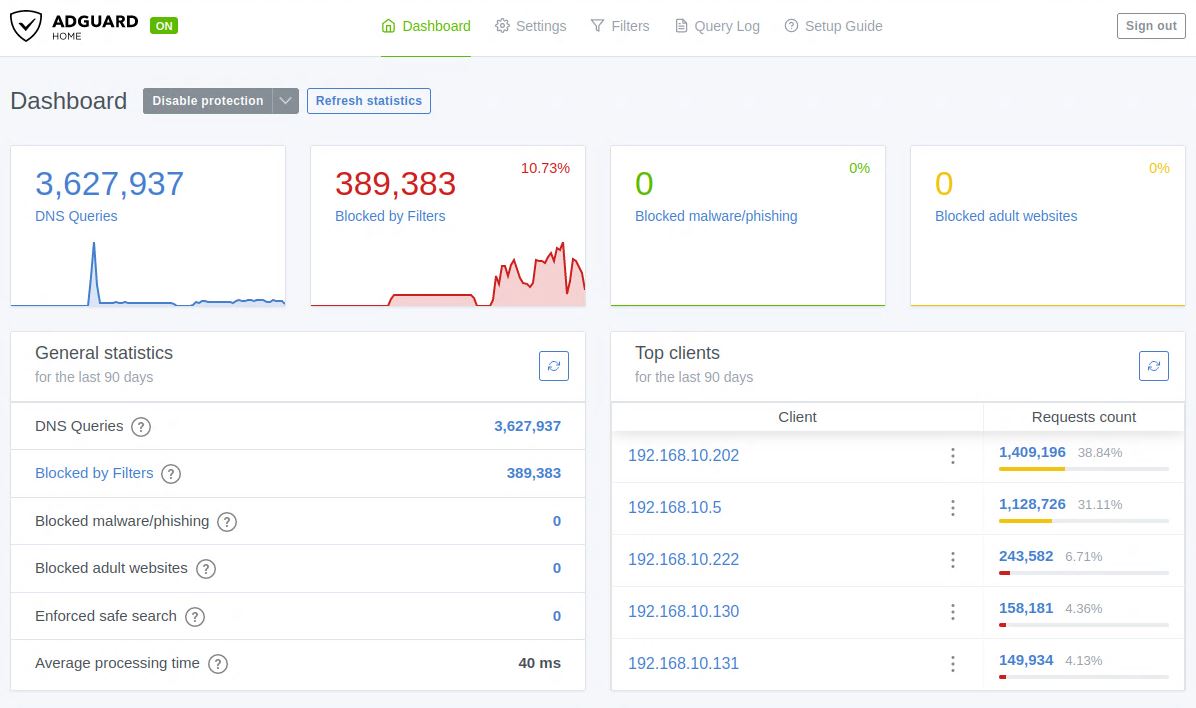
In this article, we will walk through the installation of AdGuard Home DNS Server on Ubuntu 22.04 and the configuration process. I choose this DNS Server running on Ubuntu to protect my network from malicious, phishing, and scam domains.

The Domain Name System (DNS) is a fundamental component of the Internet and your local network that translates human-readable domain names into IP addresses. It acts like a phone book for the Internet, helping computers and network devices find and communicate with each other.
At this link you can check Git Repository related to the AdGuard Home.
Requirements for AdGuard Running on Ubuntu
In my environment, the AdGuard Home DNS Server is installed on a Virtual Machine with:
- Ubuntu 22.04
- RAM: 2 GB
- CPU: 1 Processor
- HDD: 20 GB
There are between 20–60 devices on this network using this DNS server, and I haven’t noticed any lag or issues.
I was not able to find official requiremnts for AdGuard Home
Steps to Install AdGuard Home DNS Server
Step 1: Install Ubuntu 22.04 Server and Update It
Before installing AdGuard Home, update your system to ensure all packages are up-to-date.
sudo apt update && sudo apt upgrade -y
Step 2: Set Static IP for Your Ubuntu Server
Configure a static IP address on your server. Below is an example of how to do this with Netplan.
nano /etc/netplan/00-installer-config.yaml
# This is the network config written by 'subiquity'
network:
  ethernets:
    ens160:
      addresses:
      - 192.168.10.201/24
      gateway4: 192.168.10.253
      nameservers:
        addresses:
        - 8.8.8.8
        search: []
  version: 2
netplan apply If you need more examples of Netplan configuration you can check my article abut it.
Step 3: Install AdGuard Home on Ubuntu 22.04
In this case AdGuard will be downloaded in /opt directory and the install script
cd /opt

# Download application
curl -s -S -L https://raw.githubusercontent.com/AdguardTeam/AdGuardHome/master/scripts/install.sh | sh -s -- -v
Output of the installation will be something like:
******                   .
AdGuard Home is now available at the following addresses:
2024/11/30 07:22:47 [info] go to http://127.0.0.1:3000
2024/11/30 07:22:47 [info] go to http://[::1]:3000
2024/11/30 07:22:47 [info] go to http://192.168.10.201:3000

2024/11/30 07:22:47 [info] service: action install has been done successfully on                                                   linux-systemd
AdGuard Home is now installed and running
you can control the service status with the following commands:
sudo /opt/AdGuardHome/AdGuardHome -s start|stop|restart|status|install|uninstall
Step 4: Continue AdGuard Setup in the Web Browser
Open the link (in my case 192.168.10.201:3000/install.html) in your browser and follow the configuration wizard:
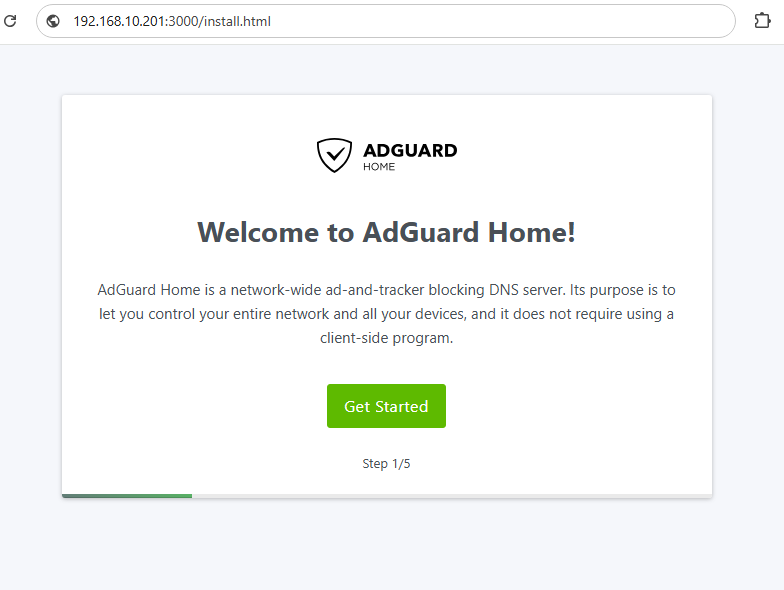
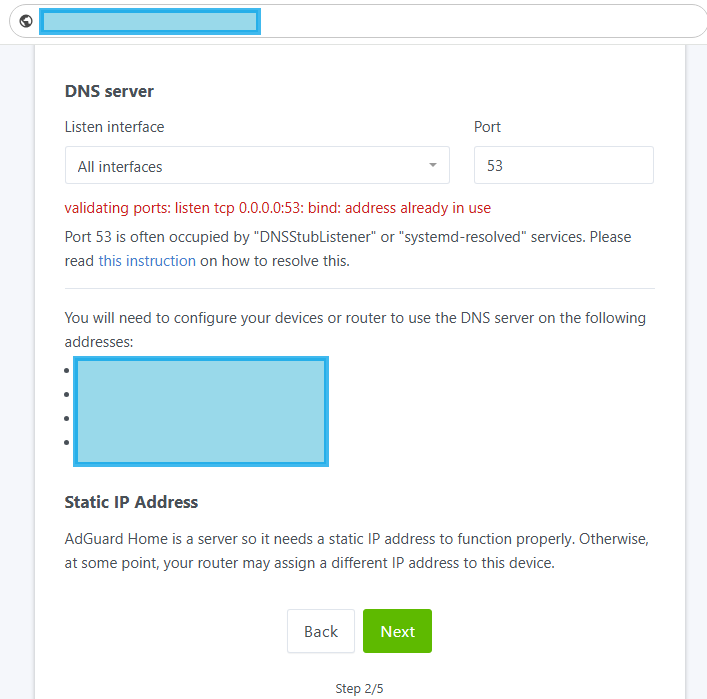
We need to fix the issue rleated to the Port 53 usage on the server. We can use suggested fix by AdGuard Support Page.
Step 5: Troubleshooting DNS Activity – Bind Address in Use Error
Connect to the Ubuntu Server and check DNS Activity to be sure that there is no other service using the port 53:
# Check activity on Port 53
sudo lsof -i :53
Step 5.1: Create the /etc/systemd/resolved.conf.d directory
sudo mkdir -p /etc/systemd/resolved.conf.dStep 5.2: Deactivate DNSStubListener and update DNS server address.
Create a new file, /etc/systemd/resolved.conf.d/adguardhome.conf
sudo nano /etc/systemd/resolved.conf.d/adguardhome.conf# Content of the file
[Resolve]
DNS=127.0.0.1
DNSStubListener=no5.3 Activate another resolv.conf file:
# Activate resolv.conf file:

sudo mv /etc/resolv.conf /etc/resolv.conf.backup
sudo ln -s /run/systemd/resolve/resolv.conf /etc/resolv.conf
5.4 Restart DNSStubListener:
# Restart DNSStubListener:
sudo systemctl reload-or-restart systemd-resolved
5.5 Start your AdGuard Home Installation Process Again
After refreshing your browser, the error message regarding the “connection “Bind address in use” should disappear.
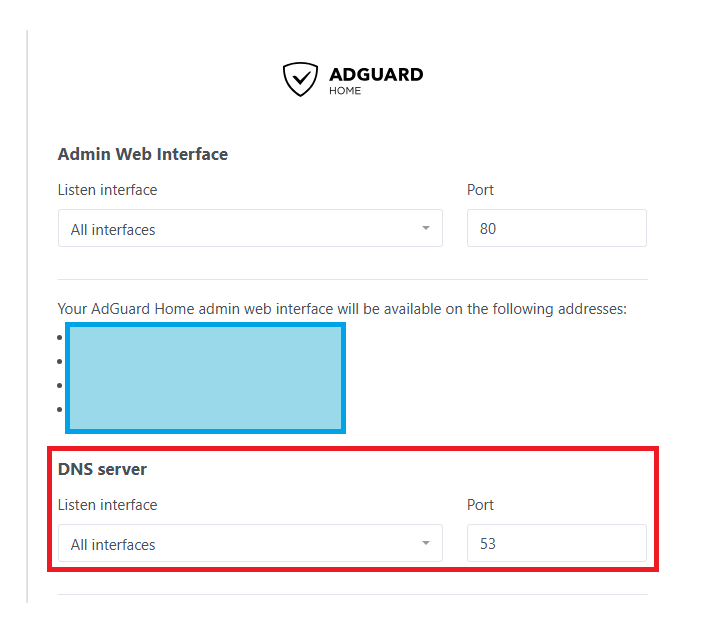
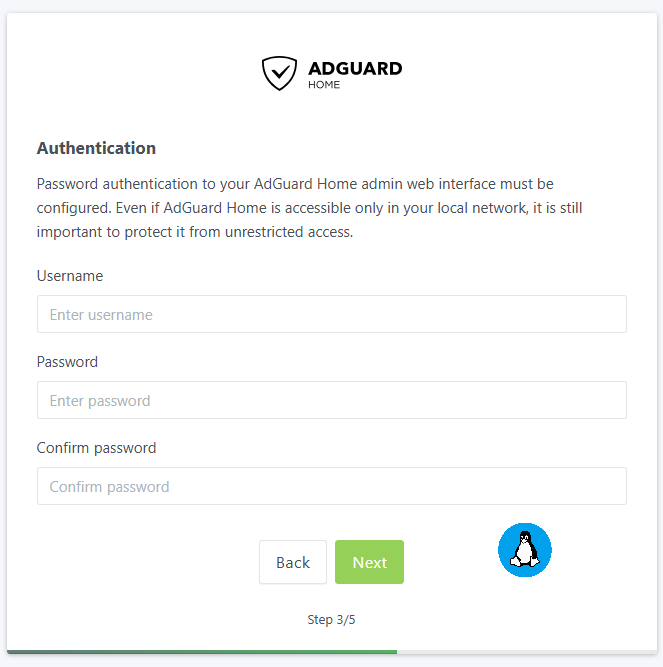
Step 6: Configure Your Username and Password for AdGuard Web Admin Login
Set your username and password that will be used to access the server:
With this setup, installation and configuration process is completed.
