Introduction
Enabling SSH on VMware ESXi allows administrators to access the ESXi shell remotely, making it easier to perform advanced management tasks. Here’s a straightforward guide on how to enable SSH on your ESXi host.
How to enable SSH for Secure Remote Access
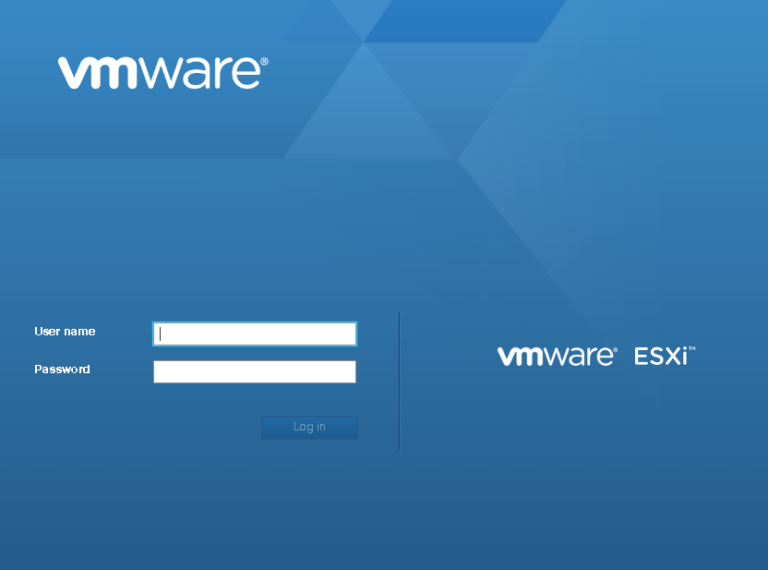
Step 1: Log in to the ESXi Host Client
Start by logging into the ESXi host’s web interface. Open a browser and enter the IP address of the ESXi host. Log in with an administrative account (by default it is a root user).

Step 2: Navigate to the Services Menu
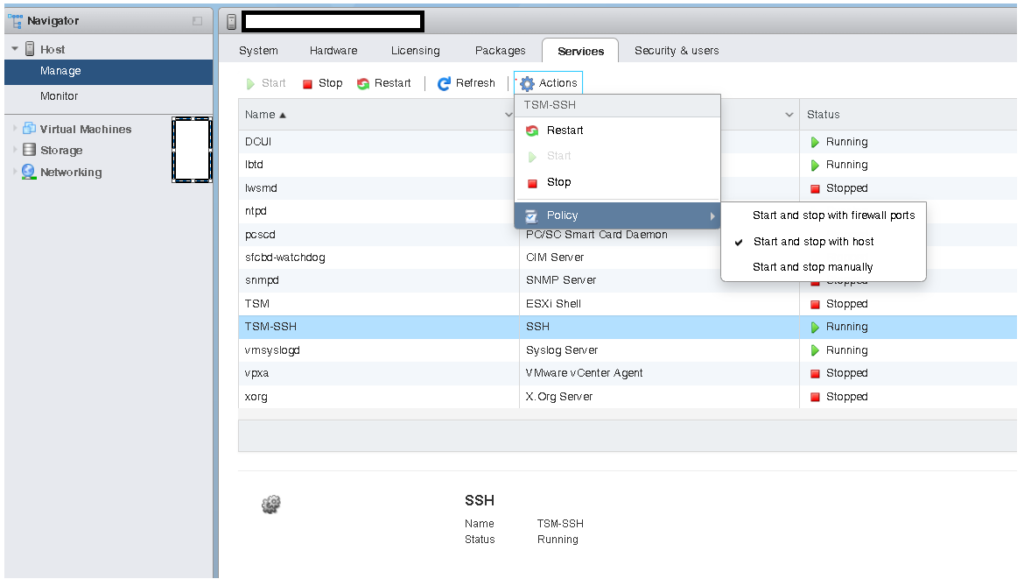
Once logged in, select Host -> Manage from the left panel. Under Services, look for TSM-SSH, the service responsible for enabling SSH.
Step3: Enable the SSH Service
Right-click TSM-SSH and choose Start. This action will activate SSH on your ESXi host, allowing you to access it using an SSH client such as PuTTY.
Step 4: (Optional) Set SSH to Start with Host
For easier future access, you may want to configure SSH to start automatically with the host. Right-click TSM-SSH, select Edit Startup Policy, and choose Start and stop with host.
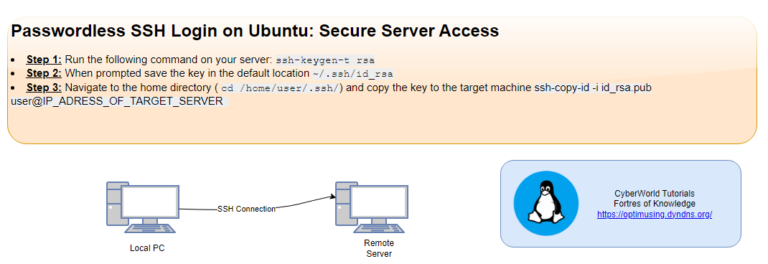
Step 5: Connect via SSH
Use an SSH client, enter the ESXi host’s IP address, and log in with your credentials. You now have shell access to the host for advanced configuration and troubleshooting.

Important Considerations
Enabling SSH can expose the ESXi host to security risks, so disable SSH when it’s not needed. Always use strong credentials and consider firewall restrictions to limit SSH access to trusted IPs only.
Enabling SSH on ESXi simplifies tasks that require direct command-line access, but it should be managed carefully to maintain a secure environment.
Example how to use SSH remote access on the ESXi Host: Detect and Restart Unresponsive Virtual Machines on ESXi automatically.
